Showing posts with label diy. Show all posts

9/8/12

Seafoam Collection

SeaFoam


Lace top, $22 / Black jacket / Balmain distressed jeans, $1,240 / River Island high heels, $40 / Alexander McQueen box clutch purse / Lace jewelry / Nialaya crystal jewelry


DecorAllure came across some great DIY ideas for your kitchen island. 
Stick a wooden top on a painted dresser.
 
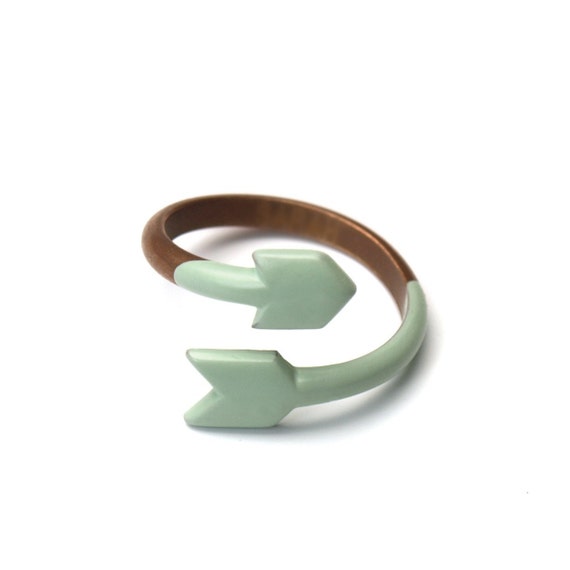
MijuAndYou offers a dip dyed copper arrow ring. 

 Via pinterst. Get a paint sample that has 4-6 shades in the same color story. Buy a small "sample" can of each one for the front of your dresser or anything you may have with drawers.

8/14/12

One photo bracelet DIY

 
 Let's ignore the quality, shall we? 
I've never embroidered anything in my life before a few moments ago. Really. haha!!
I may try this again, only with a bit more 'planning'.

What you need:
-Denim scraps (have you made jeans into shorts recently?)
-Embroidery floss (friendship bracelet style)
-Sewing needle (large enough eye for the thread)
-Clasp (hobbylobby or ANY craft store)
-Jump rings or split rings, and chain in case you make it too small (oops)
-Ribbon Crimps. I got mine here on etsy.
-Scissors and jewelry pliers.

Start by taking your piece of denim and cutting a long thin strip. Wrap this around your wrist and mark with a pen where you need it cut. Mine has a chain because I cut it too small for my wrist, so make sure you cut it long first, then take off little pieces until it's perfect. Thread up your needle with the thick embroidery floss.
I would recommend drawing out whatever design you want with a pen to be sure you have an even guide to follow, and that it will all fit (so it doesn't need to look like mine. Another oops lol!!)
Start threading through the back so that your knot and edge of the thread aren't visible. Stick with straight lines. The back won't be visible so focus only on the front and your clean lines.
Once you have your writing done, grab your ribbon clamps and your pliers and close one on each end.
 Add your jump rings and clasp, and DONE!

Optional: Before adding the end clamps, cut another piece of denim to the same size, and use fabric glue to glue it to the back of your designed piece. This will make it a little more sturdy, and will hide any thread on the back side. The clamps will still easily fit over top of both pieces after they're glued together.
Optional: Buy a product called "no fray" (i think that's what it called?) 
to spray on the edges of your denim to stop any fraying of pieces off the edge.

7/15/12

Geometric Painted Bags


Gorgeous isn't it? 
The perfect mix of the red pattern underneath, with a spunky geometric print on top.
Can I say spunky? Oh well. I just did.

via pinterest

You can take these same concepts and design your own clutch. 
Find something that isn't too tough to paint. Meaning, pick a sturdy leather or vinyl. I'm sure you can do this on softer leathers as well, but it might be easier on something a bit stiff. Nab some acrylic paints in whatever color you want, and go crazy. To get long straight lines, painters tape might be the way to go. For other patterns, look for fun stencils to use. With stencils, you may even be able to use spray paint.

 
Head over to Mr. Kate to find a few other ideas.
 They've painted up quite a few bags!

6/30/12

Prepare for the 4th of July


 All images above via Pinterest

Our little city is doing its fireworks tonight. Whether you're scrambling for something to wear last minute, or you are looking for ideas for this Wednesday, there are so many fun options floating around! I think I may like that last look the best. Simple white dress, and lots of red and white accessories.
 
Sweet Sugar Belle has a great diy tutorial for making your own candy buttons! I would want to make these in some bright funky colors (neon pink and blue anyone?!?!?) but, for the holiday and all.... 
this would work perfectly. All you need is freezer paper and icing! 
There is even a link to a recipe for quick icing, and directions on making the cute packaging. 

6/26/12

DIY your way through Denim

Quick! Before it gets too hot out to wear long denim!
(what am I saying? It was 109 here today. I think we've already hit that mark) 

Stamp your own geometric shapes on Studs.and.Pearls

 
Ombre jeans with dye and a spray bottle at  Stripes.and.Sequins

 
American Flag jeans for Fourth of July? Yes! Check out N-Stitches for directions how.

6/15/12

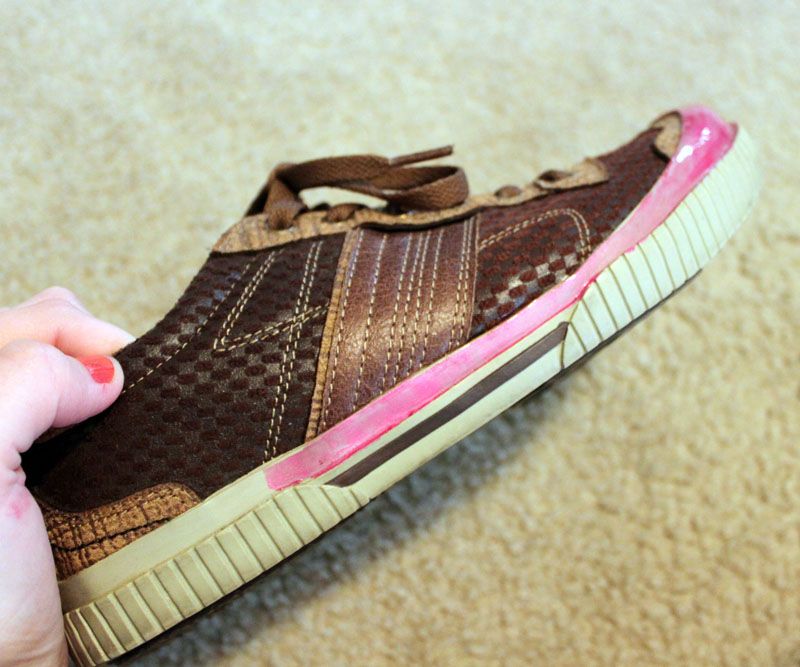
Craft It - Give old shoes a Neon Pop DIY


 In one of my 'cleaning out my closet' posts, I mentioned a pair of shoes that weren't worth keeping in the condition they were in, but were too perfectly good to throw away. The best thing to do in that case?
DIY it!

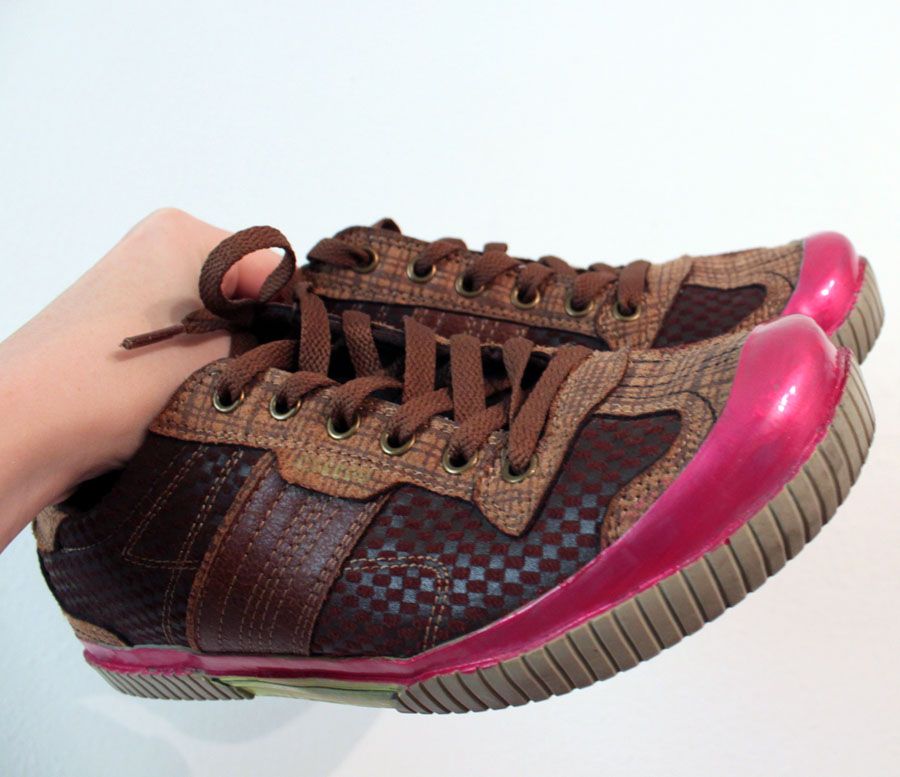
This pair of shoes has been fantastic. Honestly, i've only worn them a small handful of times. 
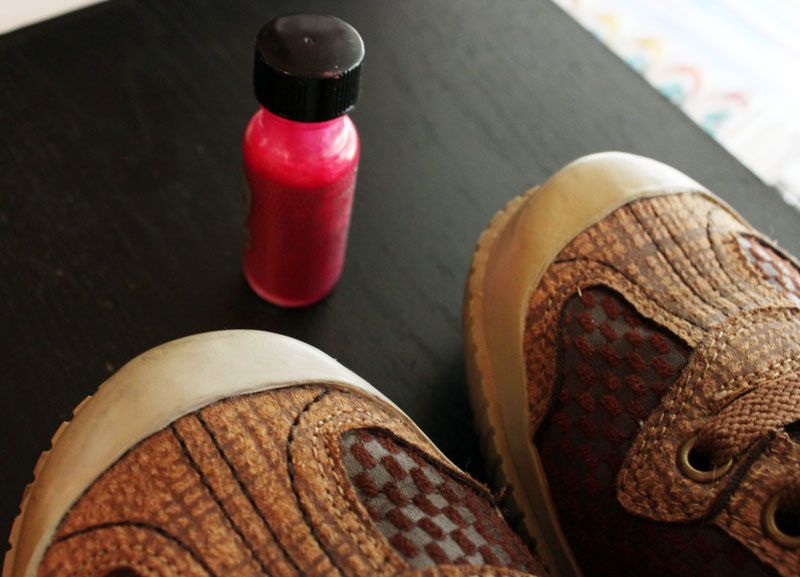
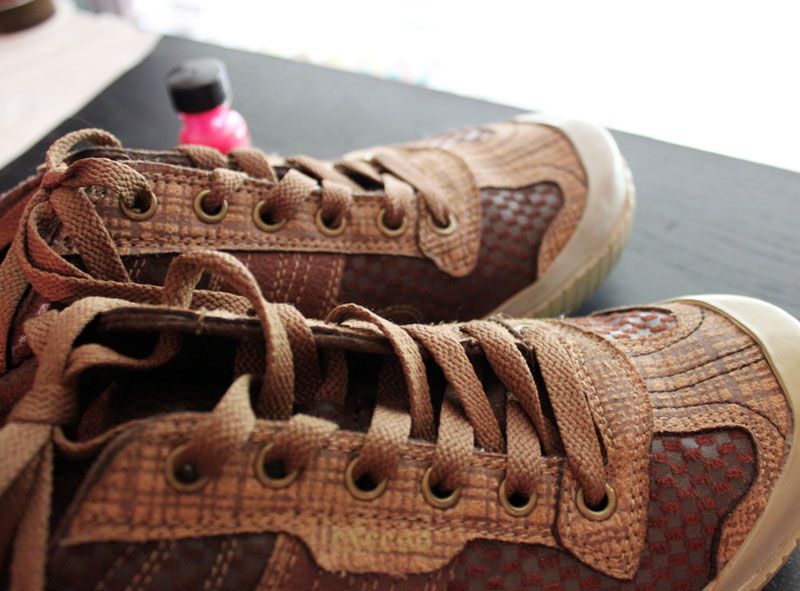
I tend to wear more blacks than I do browns. Somehow while tucked away somewhere this lovely pair started to discolor in the front rubber piece. The color difference is enough that you can tell from pretty far away that one shoe is much more faded than the other.
Can you tell how dark the right one is compared to the left?

Things you need to fix this:
Nail polish

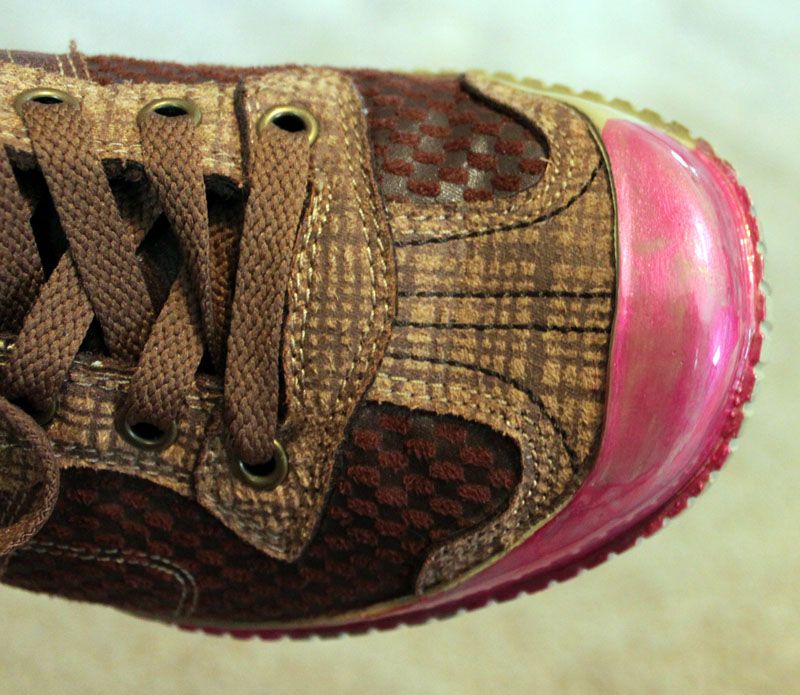
That's it! I could use paint, but I wanted something I already had on hand. You could use spray paint, but it would take a bit longer since you'd have to tape off the rest of the shoe. Most acrylics aren't as shiny as nail polish, and I wanted this pair to really POP by the time I was done with them.

The nail polish is a clearanced bottle from Hottopic. I need to remind myself why they clearance things sometimes... this stuff really isn't a long lasting nail polish. (plus, it's a little goopy. Ick).

I went around the top and outside of one shoe, then the other... then went back for the other side and back. This gave one side a little bit extra time to dry. I would recommend this as I learned the hard way, and rested a shoe on my leg as I was painting the other side. Ooops! 
This was a pretty thick coverage polish, so I only used two coats. Grab a few Q-tips and soak them in nail polish remover before you start so that you can quickly remove any mistakes or drips from other areas.
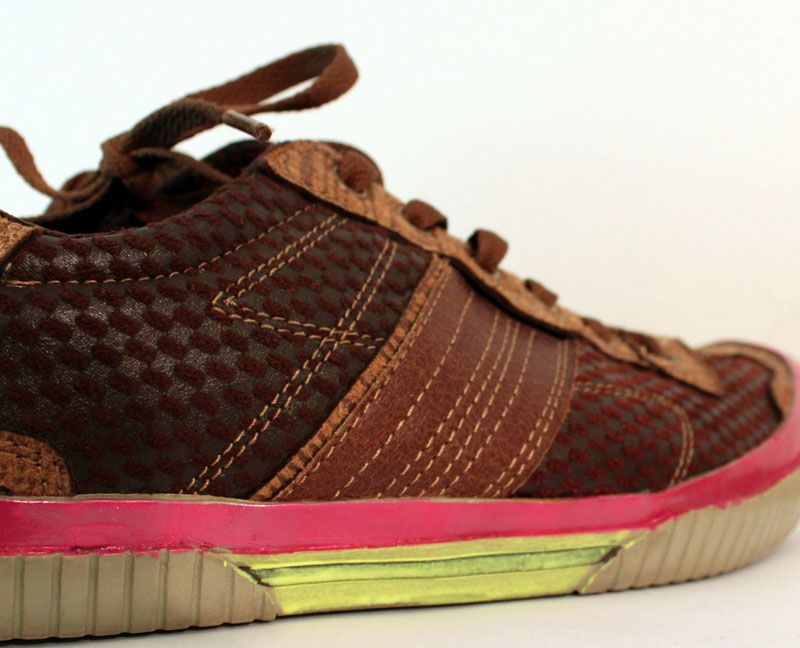
I finished mine off with a coat of bright yellow from a paint marker on the outside edges. 

Get creative. You can go with one color, or use a mix of a few different ones.
Try different shades of the same color for a nice ombre effect.


6/11/12

Avengers Makeup Eyeshadow


I think this falls under being able to be a nerd AND look stunning, at the same time.
Jangsara is a makeup blog I came across for the first time. Thank you pinterest! She has tons of really unique looks, as well as some more neutral pieces for those who just need some eyeshadow tips. 
This serious just blows my mind though. I've loved all the Avengers movies. I will admit, I never read the comics. I was a book girl, and had it in my head growing up that something with so many photos just couldn't be as good to read as something with no images.Since the movies started coming out, I've seen them all, and read up on many of the characters. These looks would be perfect to wear out to the next flick, for a Halloween party, or just to support your favorite character.
She even gives links to each character step by step and tells you what products were used. Sweet!

While hunting, some other super hero pieces came up as well.
(click images for sources. I highly recommend the batman lips on the second link)

6/10/12

Jewelry DIY - Crafting your own Accessories

I wanted to share some jewelry DIYs, that are a little different than the more popular ones floating around right now. Here are some more unique ones I've come across recently.

 
Make your own colored pencil jewelry over at DesignMom


A simple ribbon and pearl necklace at Flax&Twine 


 Lego jewelry on Instructables


Zipper bracelet on CutoutandKeep.
 Love the versions others have done at the bottom of that page!

 
Cutting earrings out of lace on TheCupcakeDiary


What is your favorite piece of jewelry you have made so far?


6/7/12

Stay Gold Ponyboy


Paint two bricks and use as bookends from StyleforStyle

 
TheyAllHateUs shows off a stack of amazing bracelets


Miu Miu glitter and gold


Tree stump tables and some spray paint

 Tip the end of your heels with some gold on Stylecaster


6/2/12

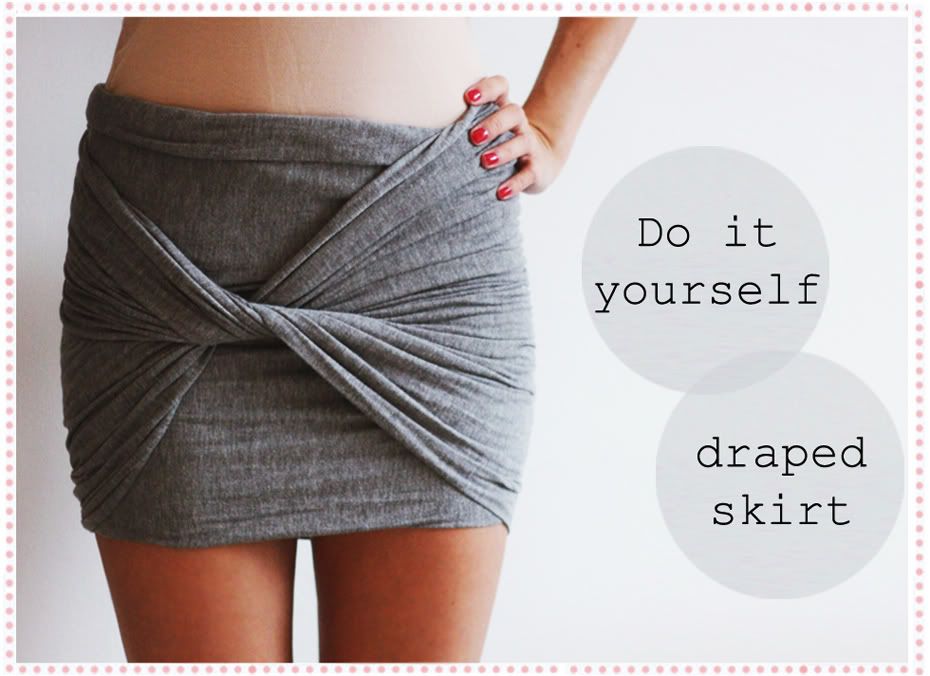
Craft It: DIY Skirts

Head over to Passion for Fashion for a GREAT DIY draped skirt tutorial.


Make your own chained belt at RunwayDIY


ThisOldDress shows you how to sew your own Burberry knockoff, with a few simple twists. 


5/8/12

Get Crafty - DIY designer sunglasses


There is a new set of sunglasses out by a-morir.
The price of these flower rimmed shades will set you back between $250-$400. 

 
 There is still a way to get some trendy flowered glasses without breaking the bank if you have a few bucks, an old pair of shades, and some strong glue.
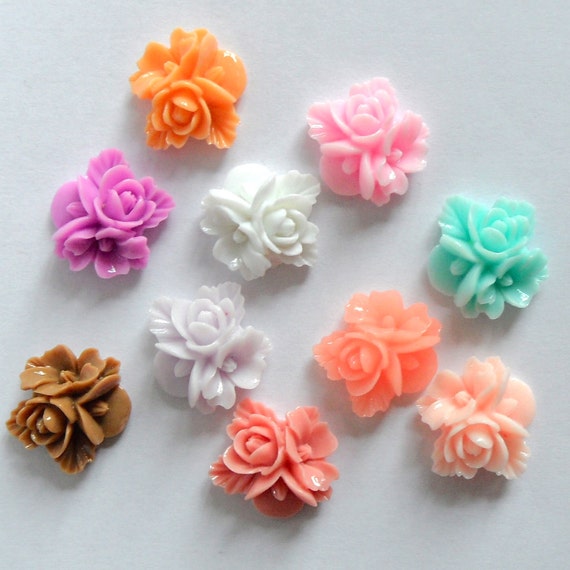
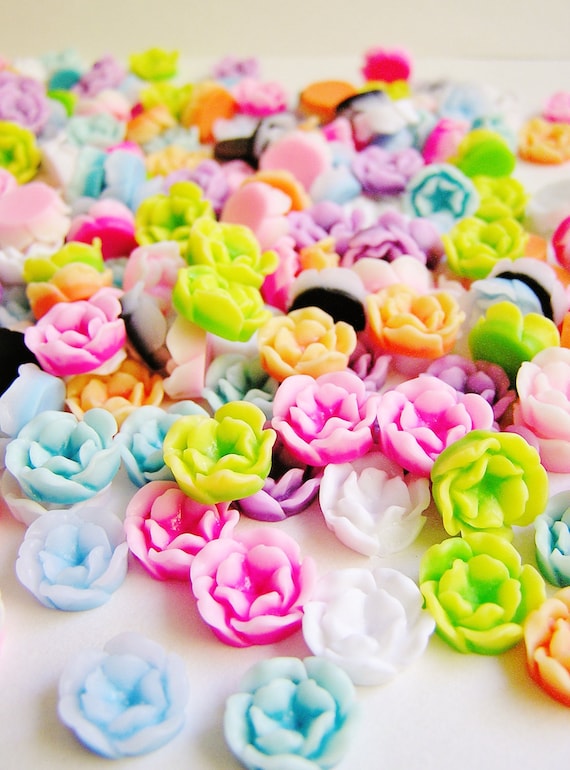
 The flowers on this set look porcelain. While pretty, that may chip and break easier than another material. Plastic would be much more durable. A quick search on a popular online marketplace (etsy) for pastel resin  flower cabochons brings up quite a few options! I'd suggest using a thick rimmed pair of glasses so you have more surface area to work with and can fit more flowers. 
If you live in a cool enough climate, you may be able to get away with using a hot glue gun to secure your blossoms, but if your summer gets hot, you probably want to pick up a tube of E6000 or something similar.

Go crazy! There are many different types of flowers in so many colors, you aren't limited to the purple/pink/blue combo, or the boring black ones that amorir sells. (lets face it, the black ones just wouldn't be worth it!). Try out roses, daisies, lotus, or one of the many other options.


     createdbyhannah                                                                     thegildedbee


If you create a pair you want to show off, feel free to share a photo!
I'd love to see what you can come up with.

 
Source: Vogue Latin America. Found through fashiongonerogue

4/25/12

Butterflies


I haven't added a new post in in about a month. (yeah, yikes! We'll try not to dwell on that though) 
This is the first I've seen of the new blogger layout and it sure is different! 
I hope I'll get used to it pretty quickly. 
If you have your own blogger, do you feel it's easier and an improvement compared to the old layout? 


On another note, there has been an overload of butterflies in town. 
Friday was the worst. Well, I shouldn't say 'worst', after all, they are butterflies! Drive down any road and your windshield and bug guard end up coated in bug guts and butterfly wings. They're all starting to disappear again now except one particular type that I've seen. Going up the walkway to my house today the bushes were so full of them, it looked like the bush itself was moving! 
Very neat. I managed to grab a photo. 
There were easily 100+ butterflies all around me.


Inspired by Butterflies?

 
DIY your own butterfly chandelier with girl.inspired

  
Gorgeous butterfly gift tags available at the.cropping.block